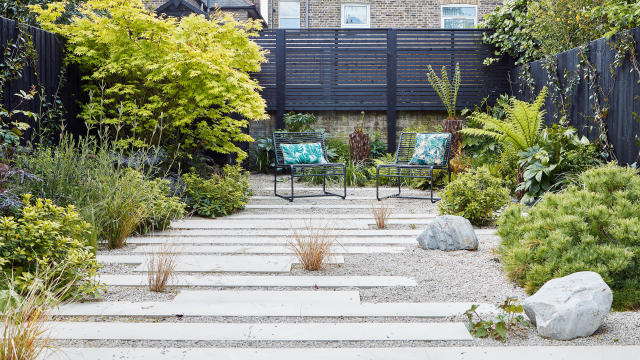
Transforming Your Garden With Gravel
Transforming your garden with gravel can be a practical and visually appealing project that offers low maintenance and versatility. Gravel gardens are known for their charm and can work well in various garden styles, from contemporary to rustic. Here’s a step-by-step guide on how to transform your garden with gravel:
1. Plan and Design:
Before you start, have a clear vision of what you want your gravel garden to look like. Consider the style, layout, and any specific features you’d like to include. Sketch out your ideas on paper or use a garden design software to visualize the final result.
2. Measure and Prepare:
Measure the area you intend to transform and order the appropriate amount of gravel. Consider the thickness of the gravel layer; typically, 2-4 inches (5-10 cm) is sufficient. Mark the boundaries of the gravel area using string lines or stakes.
3. Clear the Space:
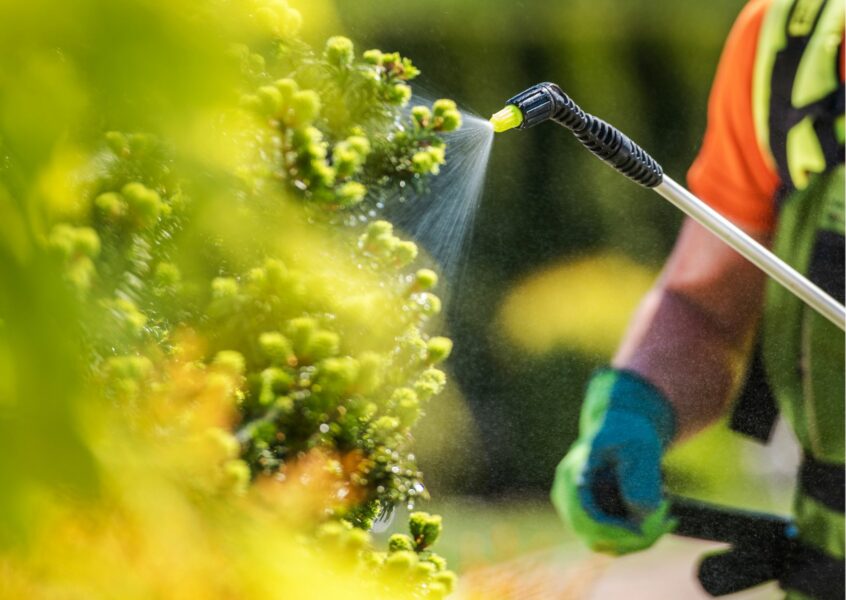
Remove existing vegetation, weeds, and any debris from the area where you plan to install the gravel. This might require digging up existing plants or using a weed killer to prevent regrowth. Ensure that the ground is level and compacted.
4. Install Weed Fabric:
To prevent weeds from growing through the gravel, lay down weed fabric or landscape fabric over the cleared area. Cut the fabric to fit the shape of your garden and secure it with landscape staples. Make sure to overlap the seams of the fabric to block weed growth effectively.
5. Choose the Right Gravel:
Select the type of gravel that suits your garden’s style and climate. Common options include pea gravel, crushed stone, decomposed granite, or river rock. Gravel comes in various colours and sizes, so choose one that complements your overall design.
6. Spread and Level the Gravel:
Pour the gravel evenly over the weed fabric, spreading it to your desired thickness. Use a rake or shovel to level the gravel and create a smooth, even surface. It’s important to maintain a slight slope away from any structures to ensure proper drainage.
7. Create Edging:
Define the edges of your gravel garden to keep the gravel in place. You can use various materials like bricks, stone, timber, or metal edging. This not only adds a finished look but also prevents the gravel from spilling into surrounding areas.
8. Add Plants and Features:
Gravel gardens can be enhanced with strategically placed plants, decorative pots, or garden ornaments. Select drought-tolerant and low-maintenance plants that thrive in gravel, such as succulents, ornamental grasses, and Mediterranean herbs. Consider creating paths or focal points using stepping stones or larger decorative rocks.
9. Maintenance:
One of the advantages of gravel gardens is their low maintenance. However, you’ll still need to weed occasionally to prevent unwanted plants from taking root. Additionally, replenish the gravel layer over time as it settles or gets displaced.
10. Enjoy Your Gravel Garden:
With proper planning and maintenance, your gravel garden can become a beautiful and relaxing outdoor space. It offers a serene backdrop for relaxation, entertaining, or simply enjoying the beauty of nature without the fuss of high-maintenance lawns and gardens.
Transforming your garden with gravel is a rewarding project that can result in a visually appealing and easy-to-maintain outdoor space. Whether you opt for a modern or natural look, gravel gardens offer versatility and can adapt to a variety of garden styles and purposes.